Exercise Library

21 targeted exercises.
5 guided sessions.

Every exercise is organized by training goal. Scan the QR code on your box for guided video tutorials — or browse the full library below. No app, no account needed.

21
Exercises
5
Guided Sessions
4
Prog. Levels
6
Focus Areas
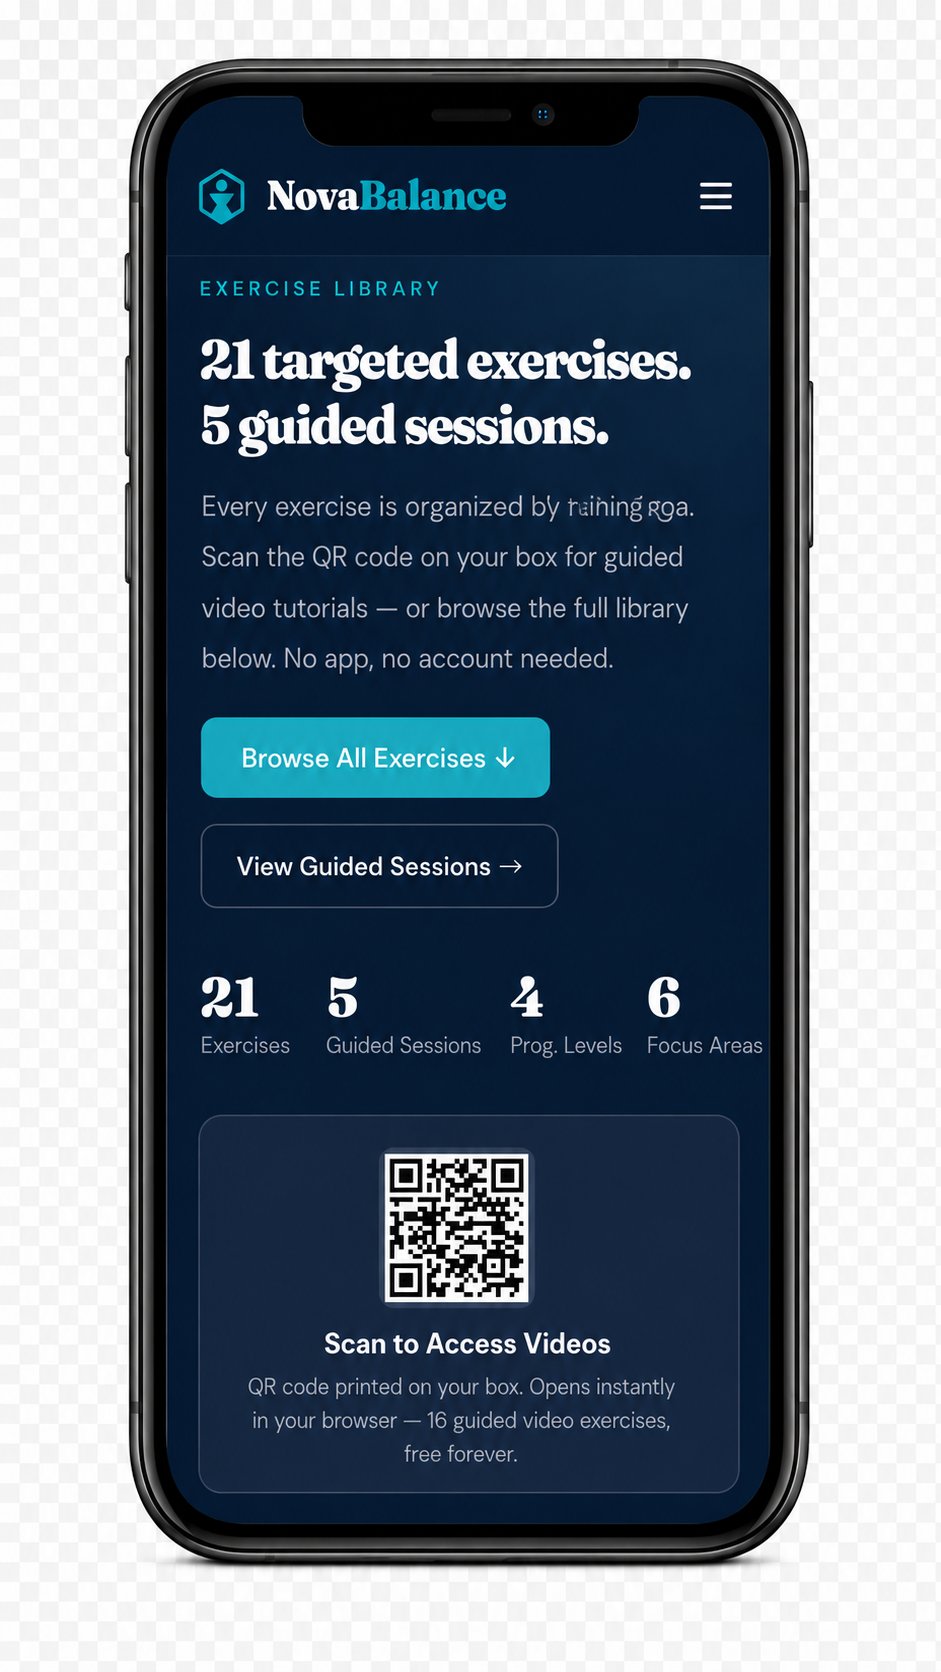
Nova Balance Exercise Library on mobile

Scan to Access Videos

QR code printed on your box. Opens instantly in your browser — 21 guided video exercises, free forever.
Category All 21 Warm-Up Board Exercises Mobility Recovery
Condition All Plantar Fascia Work Achilles Mobility Ankle Sprain Recovery Peroneal Strength Beginner (L1) Advanced (L4)
Full Library

All 21 exercises.

From foot warm-up and foundational board work to advanced athletic training. Each exercise is designed for a specific condition and progression level.

Warm-Up 3 exercises · Cork tools · Use before every session
W1 Video coming soon
Plantar Fascia Work · Morning stiffness · Tension
L1

Cork Ball: Arch Activation

Small circles under the arch from heel to ball. Wake up the plantar fascia and intrinsic foot muscles before loading the board.

60–90 sec per footVideo coming soon
W2 Video coming soon
Plantar Fascia Work · Achilles Mobility · Tight calves
L1

Cork Roller: Heel-to-Toe Release

Roll heel to toe with steady, even pressure — one full pass every 3 seconds. Loosens tissue for weight-bearing movement.

60–90 sec per footVideo coming soon
W3 Video coming soon
Plantar Fascia Work · Stiff toes · Athletes
L1

Cork Ball: Forefoot & Toe Prep

Small circles across the forefoot, big toe to pinky. Mobilizes toe joints and prepares the forefoot before balance training begins.

45–60 sec per footVideo coming soon
Board Exercises 11 exercises · Balance board · Strength & stability
Ex 1 Video coming soon
Plantar Fascia Work
L1–L4

Forefoot Focus

Shift weight from inner to outer forefoot edge. Heel flat, knee pointing forward throughout.

3 × 45–60 secVideo coming soon
Ex 2 Video coming soon
Plantar Fascia Work · Achilles Mobility
L1–L4

Rearfoot Reinforcement

Heel firmly on board. Gentle side-to-side rock in small, controlled movements. Keep a slight knee bend throughout.

3 × 45–60 secVideo coming soon
Ex 3 Video coming soon
Posterior Tibial · Plantar Fascia Work
L1–L4

Medial Stabilizer

Press weight onto inner arch, hold 2–3 sec, return to center. Knee over big toe always. Never weight under the small toe.

3 × 45–60 secVideo coming soon
Ex 4 Video coming soon
Peroneal Strength · Achilles Mobility · Ankle Sprain Recovery
L2–L4

Asymmetrical Balance

Off-center board position. Press foot toward center, return slowly — without grabbing for support. Challenges both ankles unequally.

3 × 45–60 secVideo coming soon
Ex 5 Video coming soon
Plantar Fascia Work · Achilles Mobility · Peroneal Strength · Ankle Sprain Recovery
L2–L4

Diagonal Dynamics

Smooth diagonal movements combining inner and outer edge control. Knee pointing forward, upper body still throughout.

3 × 45–60 secVideo coming soon
Ex 6 Video coming soon
Plantar Fascia Work · Achilles Mobility · Post. Tibial · Ankle Sprain Recovery
L2–L4

Angled Agility

Board in reverse position. Ankle adapts to an angled surface with small, steady corrections. Essential for sports and uneven terrain.

3 × 45–60 secVideo coming soon
Ex 7 Video coming soon
Plantar Fascia Work · Anterior Tibial
L1–L4

Dorsiflexion Drill

Flex ankle upward (toes toward shin), lower with control. The slow return is where the real strengthening happens.

3 × 45–60 secVideo coming soon
Ex 8 Video coming soon
Peroneal Strength · Ankle Sprain Recovery · Instability
L2–L4

Lateral Stability Plus

Smooth side-to-side balance, all ankle stabilizers working together. Use this as the final strength exercise of your session.

3 × 45–60 secVideo coming soon
Ex 9 Video coming soon
Ankle Instability · Peroneal Strength · Ankle Sprain Recovery
L2–L4

Side-to-Side Control

Single-leg balance. Board tilts slowly side to side. The controlled return — not the tilt — is where the real work happens.

3 × 20–30 sec per footVideo coming soon
Ex 10 Video coming soon
Functional Strength · Athletic Performance
L2–L4

Balance Squat

Single-leg shallow squat on the board. Knee over toes, chest upright. As many good-form reps as possible before switching.

3 × 8–12 reps per footVideo coming soon
Ex 11 Video coming soon
Balance Coordination · Core · Ankle Sprain Recovery
L3–L4

Toe Touch Reach

Single-leg balance. Reach forward, to the side, then across the body. Control both the reach and the return equally.

3 × 8 reps per directionVideo coming soon
Mobility 5 exercises · Range of motion · Joint health
M1 Video coming soon
Stiff ankles · Ankle Sprain Recovery · Post-Rehab Training
L2–L3

Ankle Alphabet

Trace each letter with your toes as the board tilts naturally. Restores range of motion, coordination, and joint awareness.

Full alphabet per foot · 1–2 roundsVideo coming soon
M2 Video coming soon
Plantar Fascia Work · Limited ankle mobility
L1–L3

Ankle Dorsiflexion

Toes elevated, heel grounded. Push knee forward over toes slowly, return. Essential range of motion for walking, running, and squats.

3 × 10–12 reps per footVideo coming soon
M3 Video coming soon
Flat feet · Weak arch · Plantar Fascia Work
L1–L3

Foot Supination

Shift weight to outer foot edge (pinky side), hold 2–3 sec, return. Builds a stable arch and supports push-off power.

3 × 10 reps per footVideo coming soon
M4 Video coming soon
High arches · Ankle Sprain Recovery · Shock absorption
L1–L3

Foot Pronation

Shift weight to inner arch, hold 2–3 sec, return. A controlled roll — not a collapse. Knee pointing forward always.

3 × 10 reps per footVideo coming soon
M5 Video coming soon
Plantar Fascia Work · Stiff arch · Push-off
L1–L3

Forefoot & Midfoot Mobilization

Both feet on board. Shift weight onto balls of feet, hold 2–3 sec. Focus on range of motion — not balance.

3 × 10–12 slow repsVideo coming soon
Recovery 2 exercises · Cork tools · Use after every session
R1 Video coming soon
Plantar Fascia Work · Post-training routine · General foot fatigue
L1

Cork Roller: Plantar Fascia Release

Roll heel to toe after training. Pause 5–10 sec on tender spots. Steady pressure — not bouncy. Reduces tension and promotes circulation.

90 sec – 2 min per footVideo coming soon
R2 Video coming soon
Heel pain · Plantar Fascia Work · Achilles
L1

Cork Ball: Heel & Arch Recovery

Gentle circles on heel, then arch. Use lighter pressure than warm-up — the goal here is recovery, not activation.

60–90 sec per footVideo coming soon
Guided Sessions

5 structured sessions.
Zero guesswork.

Each session is a complete protocol — warm-up, training, and recovery already sequenced for you. Pick the session that matches your stage and level.

01

First Steps

First week · Active pain · Post-rehabilitation

~10 min

Rearfoot before forefoot — the heel is more stable and builds early confidence. Ideal for the first week or when returning after injury.

W1W2 Ex 2Ex 1Ex 3 M3 R1R2
02

Building Control

Weeks 1–2 · Bilateral · No active pain

~12 min

Progresses forefoot → rearfoot → lateral control → integration. The first full bilateral session once the pain-free threshold is reached.

W1W2W3 Ex 1Ex 2Ex 9Ex 8 M5 R1R2
03

Stability & Range

Weeks 2–4 · Single-leg work · Functional phase

~13 min

M2 in the warm-up is essential before single-leg work. M1 in the middle acts as an active rest pause — range of motion between strength sets.

W2W3 M2 Ex 3Ex 4Ex 7 M1M4 R1R2
04

Strength & Performance

Athletes · Advanced · No active pain

~15 min

M2 + M3 as mandatory dynamic warm-up before squats and diagonals. The most demanding session — only when fully ready and pain-free.

W1W2W3 M2M3 Ex 5Ex 6Ex 10Ex 11 R1R2
05

Mobility & Recovery

Any level · Rest days · Morning · Pre/post run

~10 min

Anatomical sequence: rearfoot → pronation/supination → dorsiflexion → forefoot → full integration. Perfect as a daily reset or active recovery day.

W1W2 M4M3M2M5M1 R1R2
Cork Recovery Kit

Before & after.
Complete the session.

Natural cork tools to warm up before training and accelerate recovery after. Included in every box — because what you do outside the board changes the outcomes on it.

Cork Ball

Use before & after training

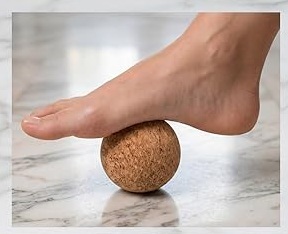
Place under your arch or heel. Small circles from heel to forefoot release deep foot tension and activate the plantar fascia before your session (W1, W3). Used after training for heel and arch recovery (R2) with lighter pressure.

Activates the plantar fascia
Reduces morning foot stiffness
Supports arch mobility
Supports post-session recovery
Cork ball under foot arch

Cork Roller

Use before & after training

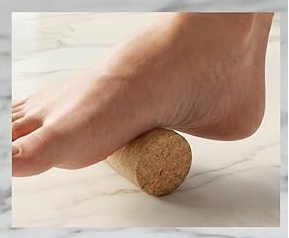
Roll heel to toe with steady, even pressure — one full pass every 3 seconds. Pre-session it loosens tissue and prepares the foot for load (W2). Post-session it releases built-up plantar tension and promotes circulation (R1).

Relieves plantar fascia tension
Reduces post-training fatigue
Improves tissue circulation
Prepares the foot for training load
Cork roller under heel
Training Protocol

How to structure
your sessions.

Follow this protocol for the best results. Move slowly, prioritize control over speed, and progress only when you feel ready. Prefer a fully structured routine? Use one of the 5 guided sessions above.

01

Warm Up with Cork Tools

2–3 minutes of foot rolling before you start. Begin with W1 (arch), W2 (full foot), and W3 (forefoot) to activate the plantar fascia and release tight spots before loading the board.

02

Complete Your Exercise Set

3 sets × 45–60 seconds per exercise. Choose exercises that target your condition and start with the ones that feel most unstable — those need the most attention.

03

Recover with Cork Tools

Finish with R1 (cork roller, heel to toe) and R2 (cork ball on heel and arch). Reduces built-up tension and supports tissue recovery after each session.

04

Progress Your Level

When L2 feels controlled, advance to L3. When L3 is solid, add the triangular bars for maximum challenge at L4. Never progress through pain.

Ready to start training?

Get the Nova Balance Board — 21 exercises, 5 guided sessions, cork recovery kit included.

🛒 Shop on Amazon